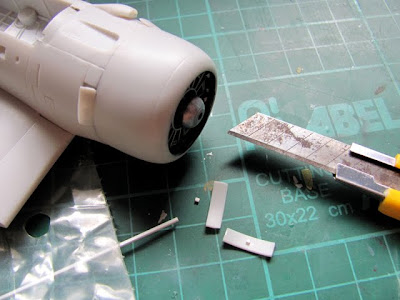
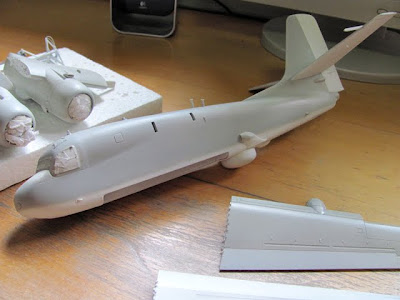
 Below is where the engine fuel jettison nozzle attaches to the engine. There is totally no fit whatsoever. Its as if the two parts were not made for each other. There is no groove or notch or whatever on the side of the engine that I can fit the pipe snugly into.
 So I had to make one myself. Using a pin vise and file, I made a small hole at the rear of the engine.
 Now it looks better (slightly).
 I used metal flexible wires to make the landing gear hydraulic lines.
 Using masking tape to hold the wires in place before adding Super Glue.
 White was air bushed to the fuselage, engines and wing undersides, as well as the control surfaces. When dried, I masked these parts off and prepared to air brush Mr Color H325 Gray (FS26440) to the rest of the area.
 I added 2 drops of white to the Gray before air brushing onto the model. This is for scaling effect.
 The soft edge at the bottom of the fuselage between the Gray and White was done using free hand.
 Once dry, I use Mr Color Clear Gloss spray can and spray it over the model.

 Sidenote:
Just to highlight a few missing instructions in the instruction sheet. These are just minor issues and not show stopping. On the page below, you can see that it tells you to "open holes" at the bottom of the fuselage but not at the top.
 Later on when its time to add strobe lights and the other stuff at the fuselage top, you'll find that there are no holes to put them.
 Likewise for the wings. The instruction here shows that there are holes on the wings for the underwing pylons to attach to. But on the actual plastic, there are no holes. You got to drill them yourself. Its best to drill these holes before gluing the halves together and painting, to avoid potentially messing up the paintwork.
 OK back to the Glossing part
Once the Gloss coat dries, I use 1000 grit sanding film and lightly sand the surface of the model to remove all the rough spots and undulations. I then progress to 1500 grit and then 2000 grit sanding film.
 Finally, using Tamiya polishing compound, I polish the surface of the model until it shines.
 You can almost see your teeth in the reflection :)
 I begin to mask the model in preparation of painting Black to the leading edges of the wings as well as the front nose.
 After air brushing H2 Gloss Black to those parts, I also air brushed H182 Flat Clear before removing the masking tape. (I don't have Flat Black paint :)
 I start the oil wash on the wings and engines.
 Using Q tip, I clean off the access oil paint.
 I love dotting the rivets:)
No comments:
Post a Comment