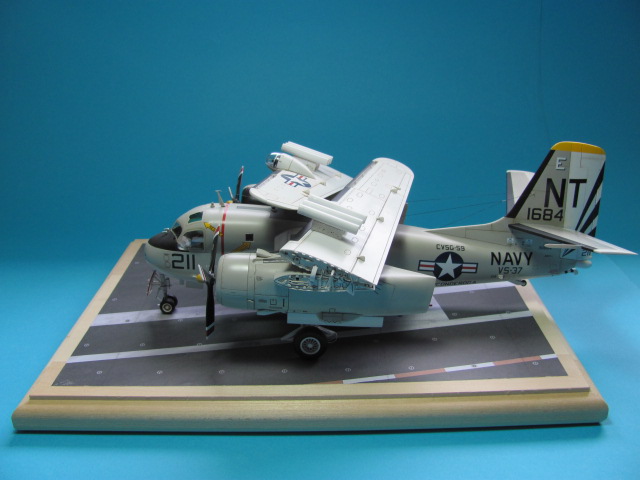
This is the completed model of the new Kinetic 1/48 scale S-2E Tracker, or better known as the "Stoof".
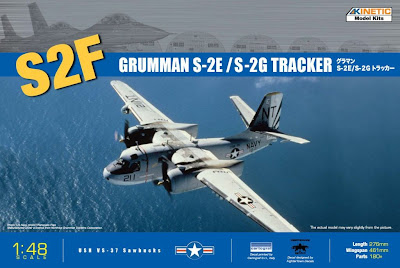
Kinetic just released this kit in early 2011. I walked into my favorite hobby store sometime in March (or April, I can't remember...) and the owner recommended this kit. I grabbed it! I knew that no other manufacturer made this aircraft in 1/48 scale, so this is a first! (And I heard that Kinetic is coming up with the C-2 Greyhound in 1/48, so I'm keeping my eye out for it...)
This is a high quality picture of the real thing (Copyright of Jose M. Ramos)


The kit took me a record of approx. 3 months to finish. I only build it on weekends due to my day job. And even on weekends, its just a full Sunday and half a Saturday devoted to model building. So I don't have a lot of time to do this. If I did it everyday, I probably would have finished it in about 18 to 20 days.

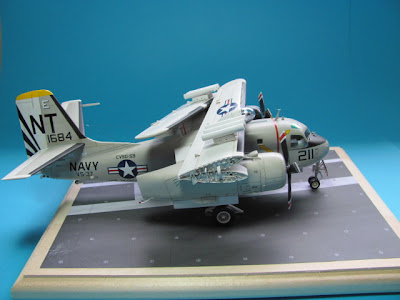
The reason for completing the model in record time was that this time I used more efficient methods of building, and I also disciplined myself to spend more time building it and less time admiring it :)
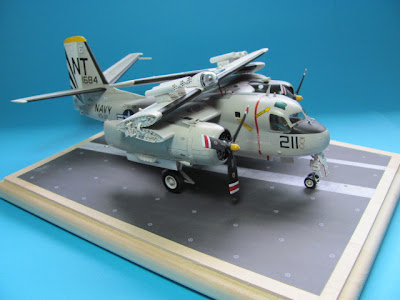
To be more efficient or productive so that you can finish your model faster, you should:
- Try to assemble/consolidate parts that are to be painted in the same color and just paint them in one shot.
- Don't waste time and effort on areas that cannot be seen once assembled.

I bought the wooden base from an art shop and the carrier deck is just a simple printout pasted onto it.


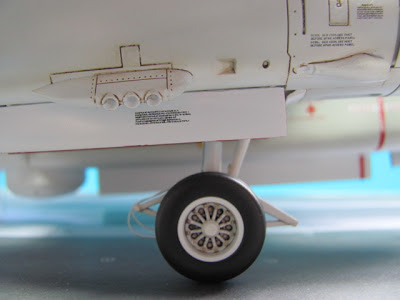
The main landing gear hydraulic lines were made from flexible wire.
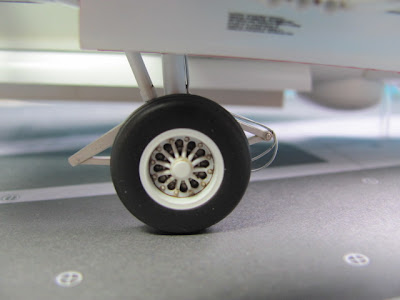
An oil wash was given to the wing fold mechanism to bring out the details.


The little clear tube you see below is used to support the model. Yes, this model is a tail sitter. I mean, just look at the geometry of the model. I don't think any amount of nose weight is enough to make it sit upright. Unfortunately I didn't use fishing weight. I'm not sure if that would be enough to bring the nose down. I used blue tac (lots of it). Apparently it is not enough. You have been warned...
The problem is that there isn't a lot of space where you can put nose weight. You can't put it in the cockpit, otherwise you can see it through the windows. The nose cone doesn't offer a lot of space either. And the nose wheel being all the way at the front doesn't help the situation. The only other place I can think of is behind the cockpit, at the cockpit door. But you have to add lots of weight. Inside the engine, just behind the cylinder, there is some space where you can put weight also.
If all else fails, just follow my method and drill a hole on the underside towards the rear and stick a clear tube into it. Nobody will notice it :)

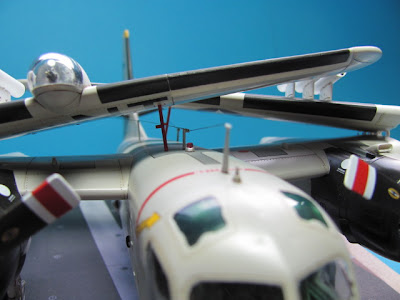
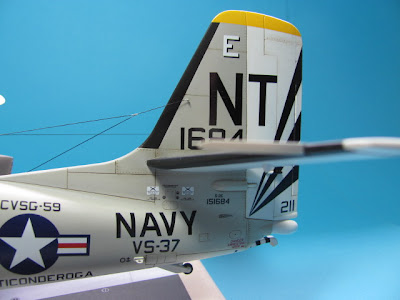
Fishing line was used to make the antenna wires.

This is my second model from Kinetic that has ended up as a tail sitter. My first one was the E-2C Hawkeye. I thought I had learnt my lesson from that. Well... apparently not.


There are many reference pictures you can find on the Internet for the S2. But unfortunately most of them are not of high quality. This is an old plane that has long been retired from service. Photographs taken during that time certainly won't match today's digital cameras (even the box art is a low quality photograph). The most recent photos taken of this plane happen to come from museums, where the aircraft is preserved. But the museum planes do not accurately portray the aircraft in operation at that time. The aircraft may have been totally repainted, or have certain parts removed. So finding good quality and relevant reference pictures has been quite a challenge for this project.
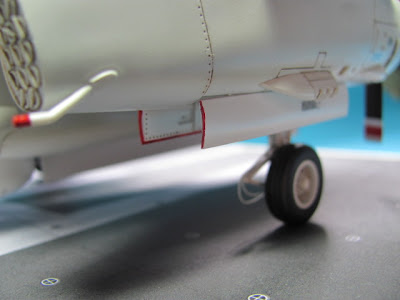
I know from online forums that there are several inaccuracies in the Kinetic kit, but I didn't bother to go and fix them (I believe one of them is the fuel jettison nozzle being on the wrong side on one of the engines)


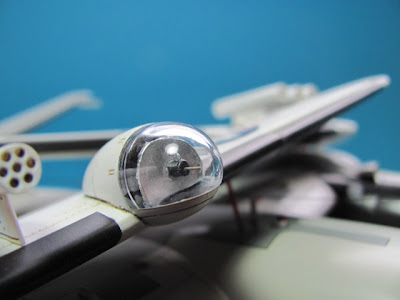
Kinetic also did not supply any parts for the search light. It was just a clear part, and inside was total emptiness! So I scratch built the search light to add some detail. I think this is one area of improvement they should look into.

Honestly, I don't even know if the landing gear door edges are red. The instruction sheet doesn't say, and the reference pictures I have show that some are red and some aren't. So its anyone's guess on this particular aircraft. But going by US Navy standards, I believe gear door edges are painted red for safety reasons. So I decided to paint them red to make it look more interesting.


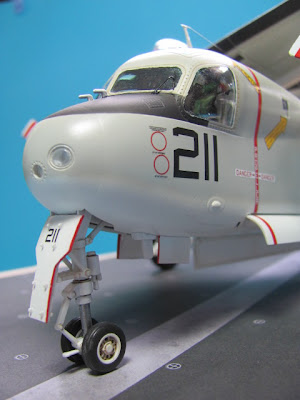
The side windows are big, which means you can see quite a bit of the cockpit detail. You should spend some time detailing up the cockpit (if you want to go in that direction). Unfortunately I didn't spend a lot of time on the cockpit, thinking it would be like the E-2C (where you can't see any of the cockpit once the kit was put together). I realized to my horror later that this wasn't the case. But hey, at least I added scratch built seat belts :)

To my surprise, Kinetic also did not provide windshield wipers. So I scratch built them from brass rods.






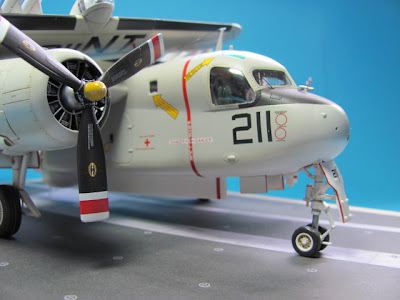

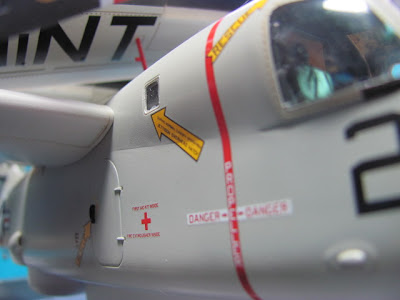
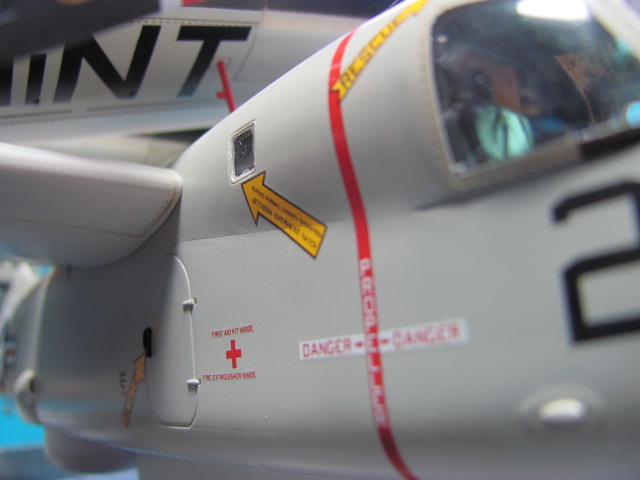
Some of the decals are too large, like this one (the yellow arrow pointing to the window)