
This will be my last Tomcat for some time before I start another. I'm quite tired of Tomcats as it is for now :) This was my second 1/48 Tomcat, my first one got sold. Unfortunately I didn't take any photographs of it before selling it. This model that you see here has also recently been sold.
I will be taking photos of all my models before selling them from now :)
Well, here's the video that inspired me to start the build. For all you Tomcat fans, here's a tribute to the F14 Tomcat. Just gotta love the music. Check it out!
Just for the record, this is the only picture I have of the Tomcat under construction. I unfortunately did not document the build process.
 So let's begin...
 I took a long time to complete this model. I started sometime in May 2007, and only finished it in Feb 2010! The reason being I took a long break in between. This model was sitting in my closet half complete for quite a long while.
 The aircraft was painted mainly with lacquers.
The Hasegawa 1/48 Tomcats have a lot of fitting problems. I won't go into those here. Many people have already talked about this online.


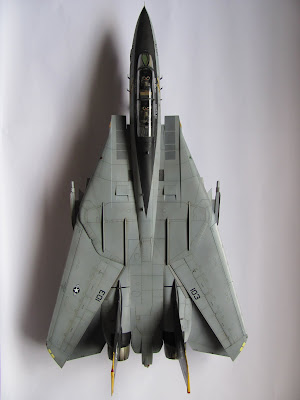
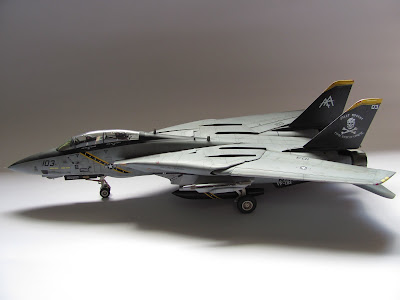
 My model mimics an aircraft in a resting, shut down position, and the horizontal stabilizer's position is angled downwards.
 After the model was primed, a pre-shade of German Grey was air brushed along the panel lines before applying the main aircraft colors.
After the aircraft colors was painted, a gloss coat was sprayed over the model and then left to dry.
 Once gloss coat drys, apply decals and leave decals to dry. An oil wash was then applied to the panel lines and rivets.
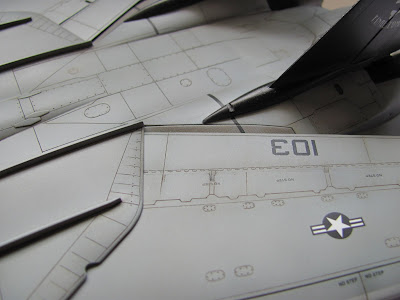
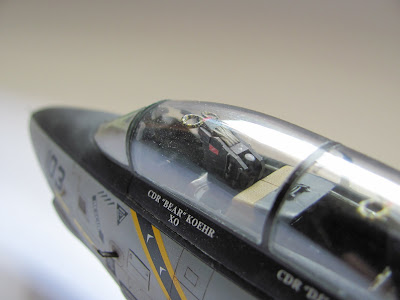 Once the oil wash drys, air brush light gray very lightly over the decals. This will give the decals a bit of faded look so that it seems blended to the surface of the aircraft. After that, air brush mahogany (Mr Color H42) lightly over random spots on the surface. This will give it a slight brownish hue for a weathered, dirty look. Be careful not to overdo it here! After that air brush flat clear (Mr Color H182) over the entire model. Be careful not to make the aircraft completely flat. Try to leave a slight sheen on the surface.

Here are some recommended reference books that you'll find useful if you're building the F14 Tomcat.
 One lesson I learnt from another more experienced modeler is...no aircraft is completely flat. Although the aircraft may look flat or dull from a distance, there is always a slight sheen on the surface, especially when the sun is shining on it.
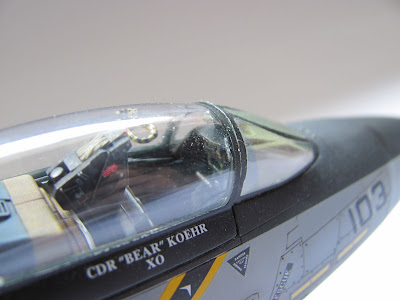
 Below is a picture of the real aircraft. Notice the three rain repellent nozzles. Notice also that there is not really any seam line between the fuselage nose and the front canopy window. (Picture courtesy of Home of Mats)
 Below is another picture of the Tomcat's windshield, looking forward from the cockpit. Notice the oval window's base (at the top of picture) is wider than the window's top (at the bottom of picture). The hasegawa kit's "oval" shape has got equal lengths for the top and base. This was something I had to correct, otherwise the final product wouldn't look like a Tomcat. (Picture courtesy of Home of Mats)
 So on the model, I ignored the "guide" lines on the front windshield plastic and painted over them, to reshape the oval to make it correct. I removed the seam lines between the front canopy window and the fuselage. I also scratch built the three nozzles for the windshield rain repellent using plastic cards, and then dry brushed over them with light gray.
To create a realistic scaling effect on your model, you should lighten the aircraft color that you're painting. Some white should be added to the aircraft gray color. As a guideline:
- 1/32 scale aircraft - 1 drop of white paint
- 1/48 scale aircraft - 2 drops of white paint
- 1/72 scale aircraft - 3 drops of white paint


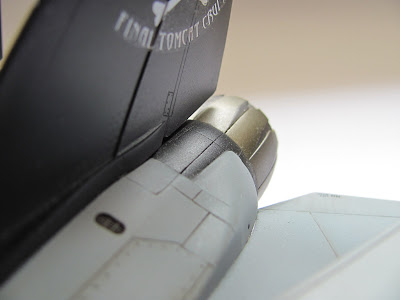
 The exhaust nozzle leaves are a tricky part. It is very hard to replicate the exact colors. The real exhaust cone color looks different under different lighting conditions. On this model the exhaust leaves were painted gold first and then over sprayed with metallic gray to "tone" it down a little. The narrow sections between the leaves were painted with burnt iron.
 Below is a picture of the real thing.
 The black portion just before the exhaust cone I painted first with gloss black, then over sprayed with steel to give it a bit of metallic look. On the real aircraft, this part is actually a carbon fiber material. See picture below.


 The inside of the exhaust cone was painted with flat white and then given a good dose of oil wash.


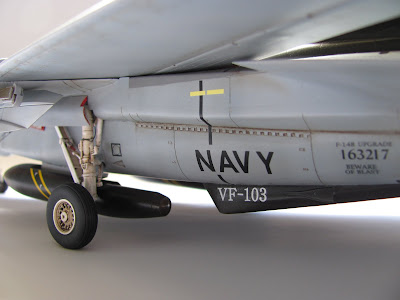
 The oil was on the wheels brings up quite a lot of detail. The tires provided in this kit are rubber tires. I oversprayed light gray on the tires to lighten them and give it a "worn", "used" look.

4 comments:
Fear the Bones, I fear the bones! Very sharp build, Sir.
Hello, very interesting F-14B Tomcat, a model of the brand Mr. Hasegawa, I have planned an F-14D, B and A, with the appropriate decals may conclude my long awaited project, for now I invite you to visit my blog http://planetahobby.blogspot.com/
Greetings from Arequipa, Peru
Benjamin
Hello, very interesting F-14B Tomcat, a model of the brand Mr. Hasegawa, I have planned an F-14D, B and A, with the appropriate decals may conclude my long awaited project, for now I invite you to visit my blog http://planetahobby.blogspot.com/
Greetings from Arequipa, Peru
Benjamin
Such a master scale model! Can that be bought from amazon? I've looking for the perfect F14 model and that just fits my bill.
Post a Comment